
Preview modes
Introduction
Section titled “Introduction”This module is discusses the concept of preview modes in QGIS.
What you should already know
Section titled “What you should already know”As an intermediate level workbook, you are expected to already know basic GIS concepts such as spatial data models and formats and QGIS functions such as loading and styling layers, running processing algorithms, saving QGIS projects, etc.
How would my maps look like when photocopied, faxed, or when viewed by a colorblind individual
Section titled “How would my maps look like when photocopied, faxed, or when viewed by a colorblind individual”In the Essentials course, we talked about how to utilize built-in color palettes in QGIS as well as other applications that allow us to generate color palettes such as ColorBrewer (https://colorbrewer2.org/) and Viz Palette (https://projects.susielu.com/viz-palette).
One of the advantages of using the built-in color palettes in QGIS and applications such as ColorBrewer is that they make it easy to create palettes that color blind safe. When selecting a color palette or color scheme for your maps, it is useful to make it as inclusive as possible in order to correctly relay information to the most people as possible.
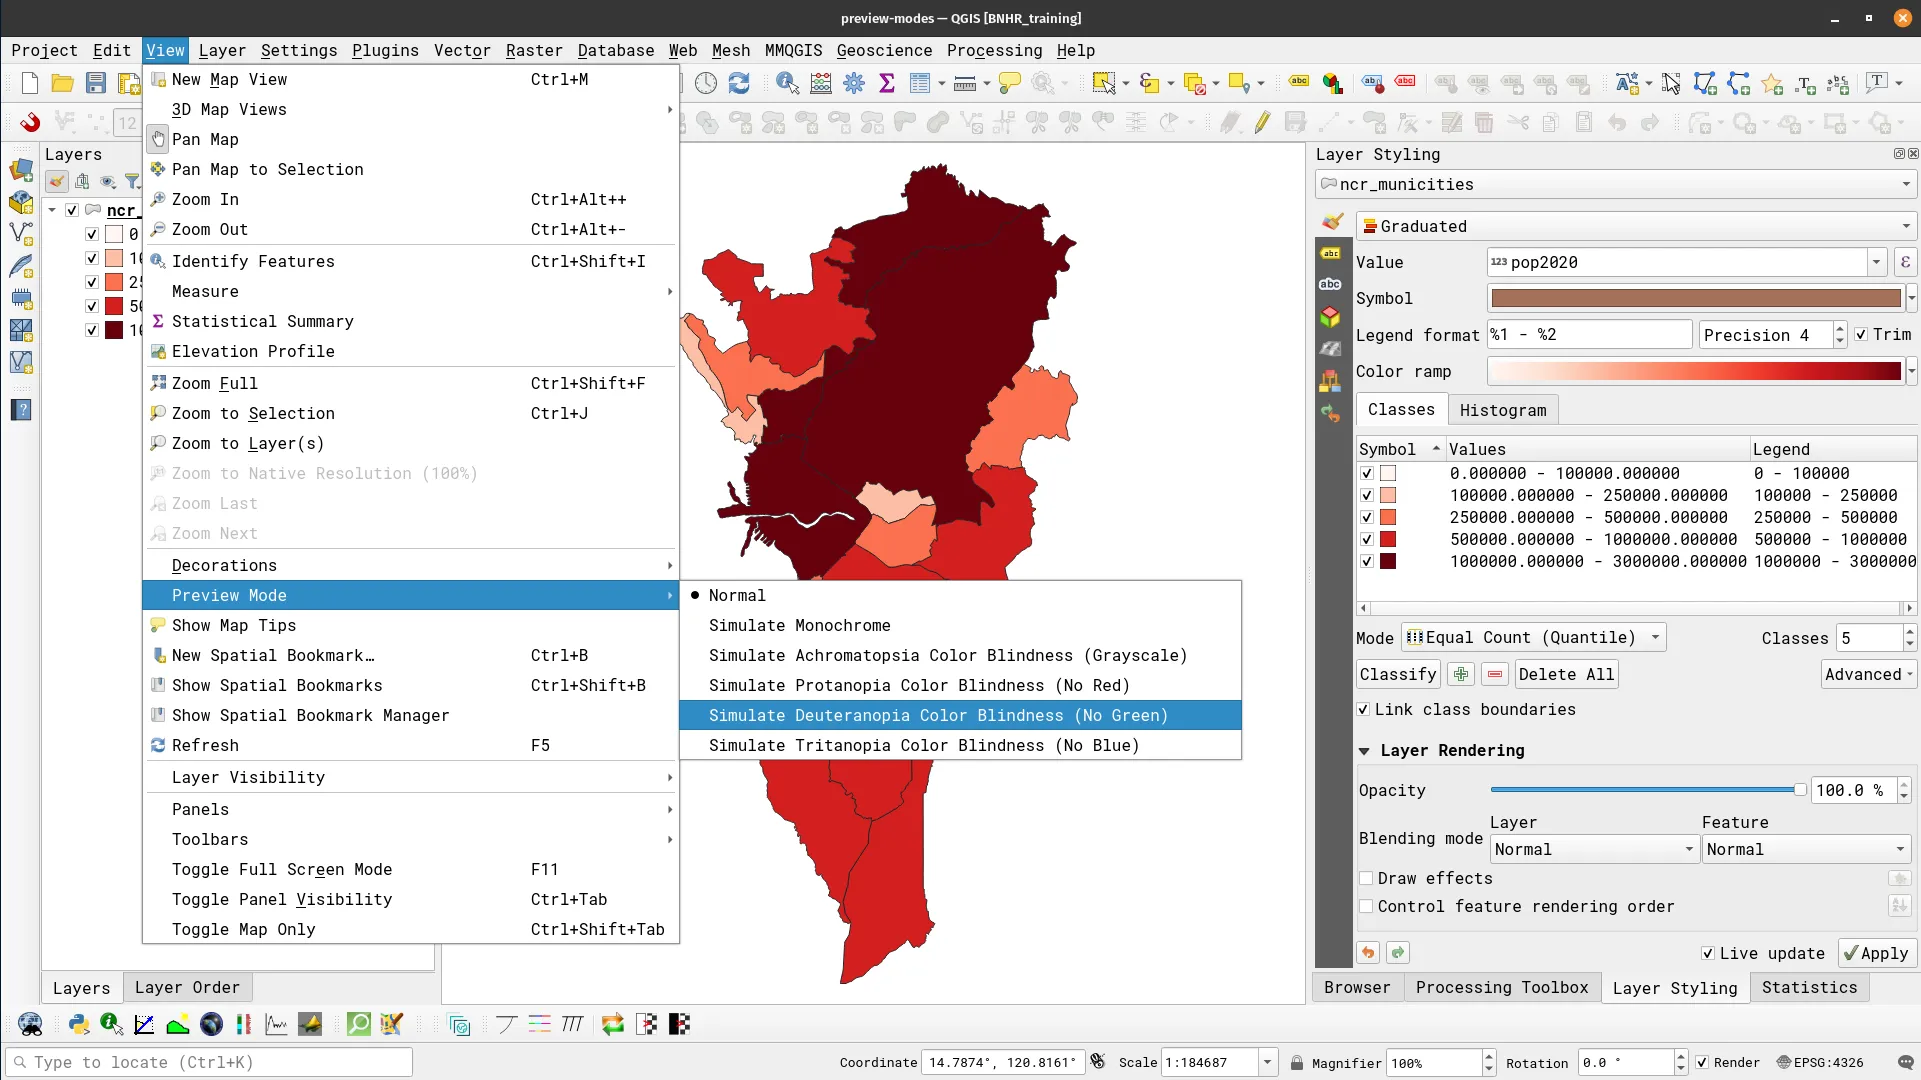
In QGIS, you can use Preview Modes to see how your map would look like photocopied, faxed, or if viewed by someone with color blindness. This option can be found via View ▶ Preview Modes in the Menu bar.
Exercise 1.1. Previewing maps in different modes
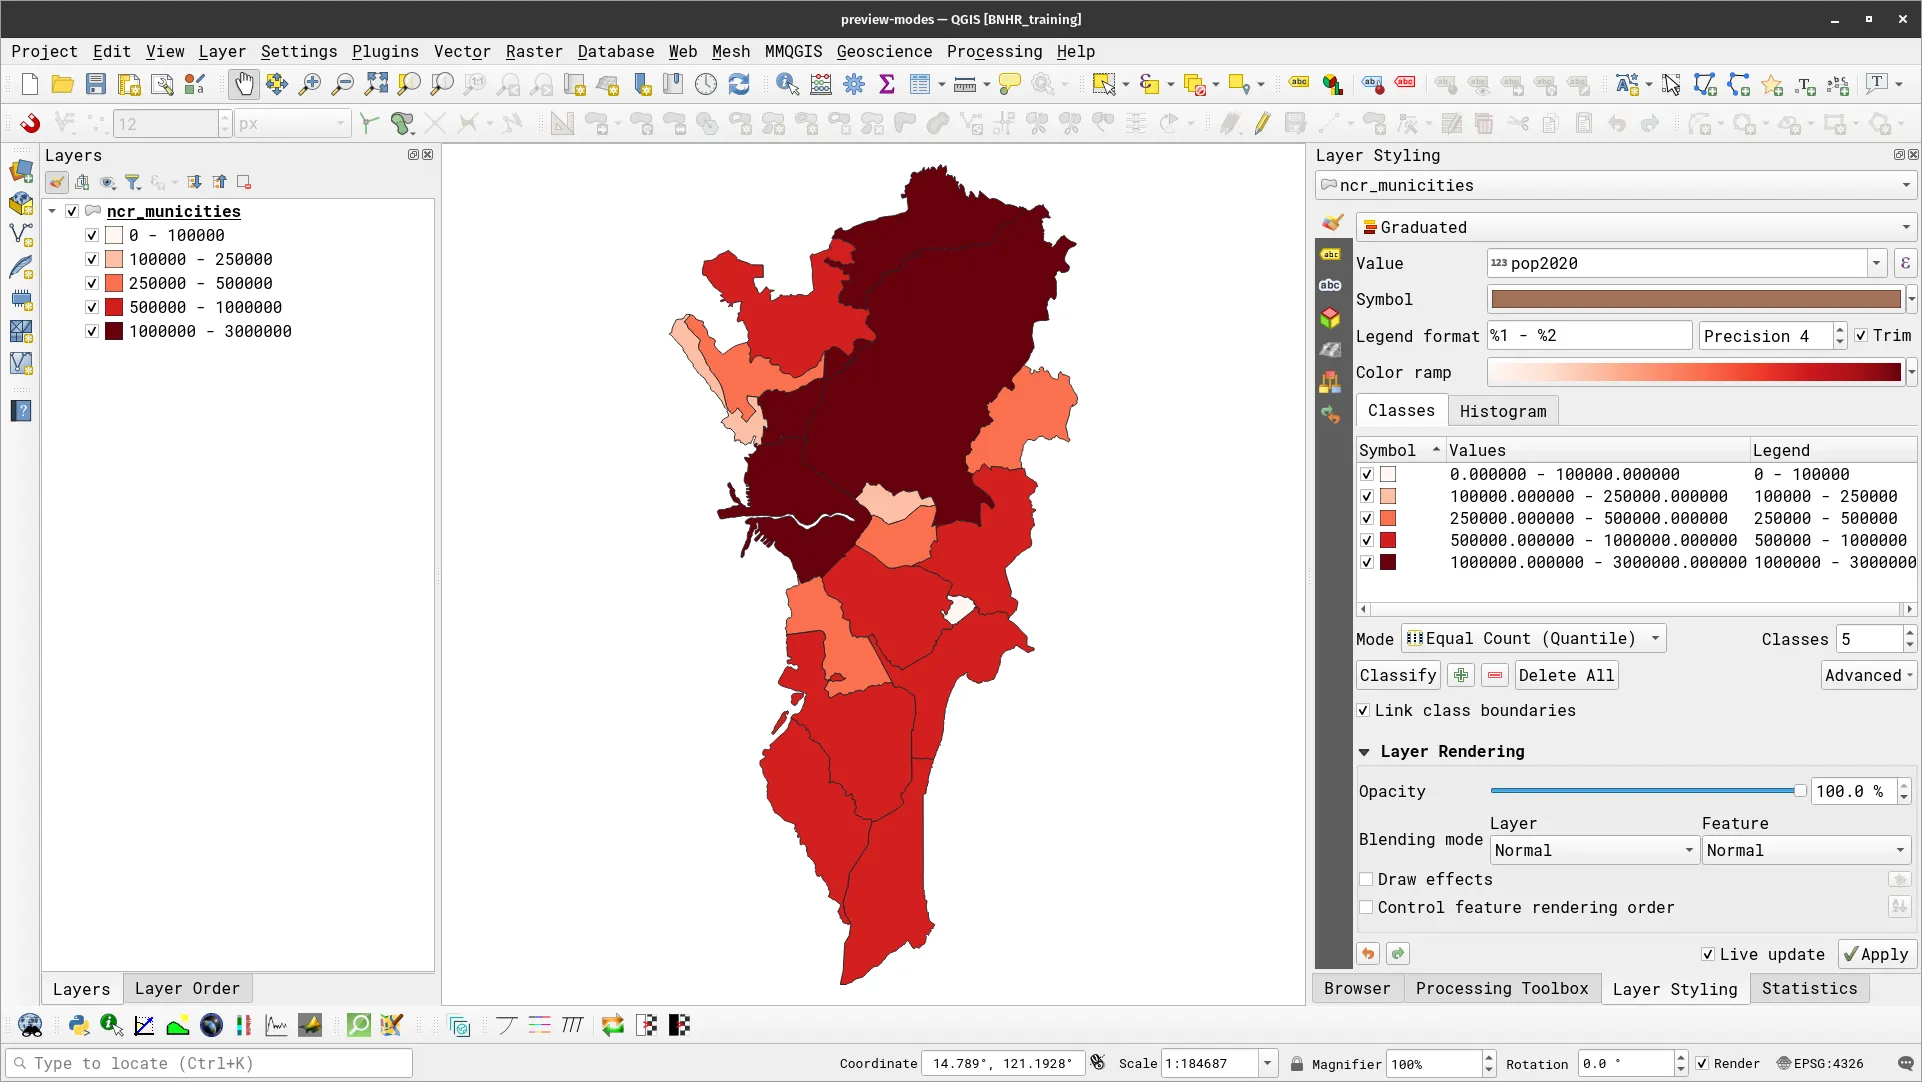
Section titled “Exercise 1.1. Previewing maps in different modes”- Load the ncr_municities layer found inside bnhr_qgis-advanced-styling.gpkg.
- Apply a graduated symbology on the layer based on the pop2020 field. If you have a copy of the QGIS: Essentials workbooks, you may refer to Exercise 4.3.3 in Module 4. For example, your map might look like the one below.
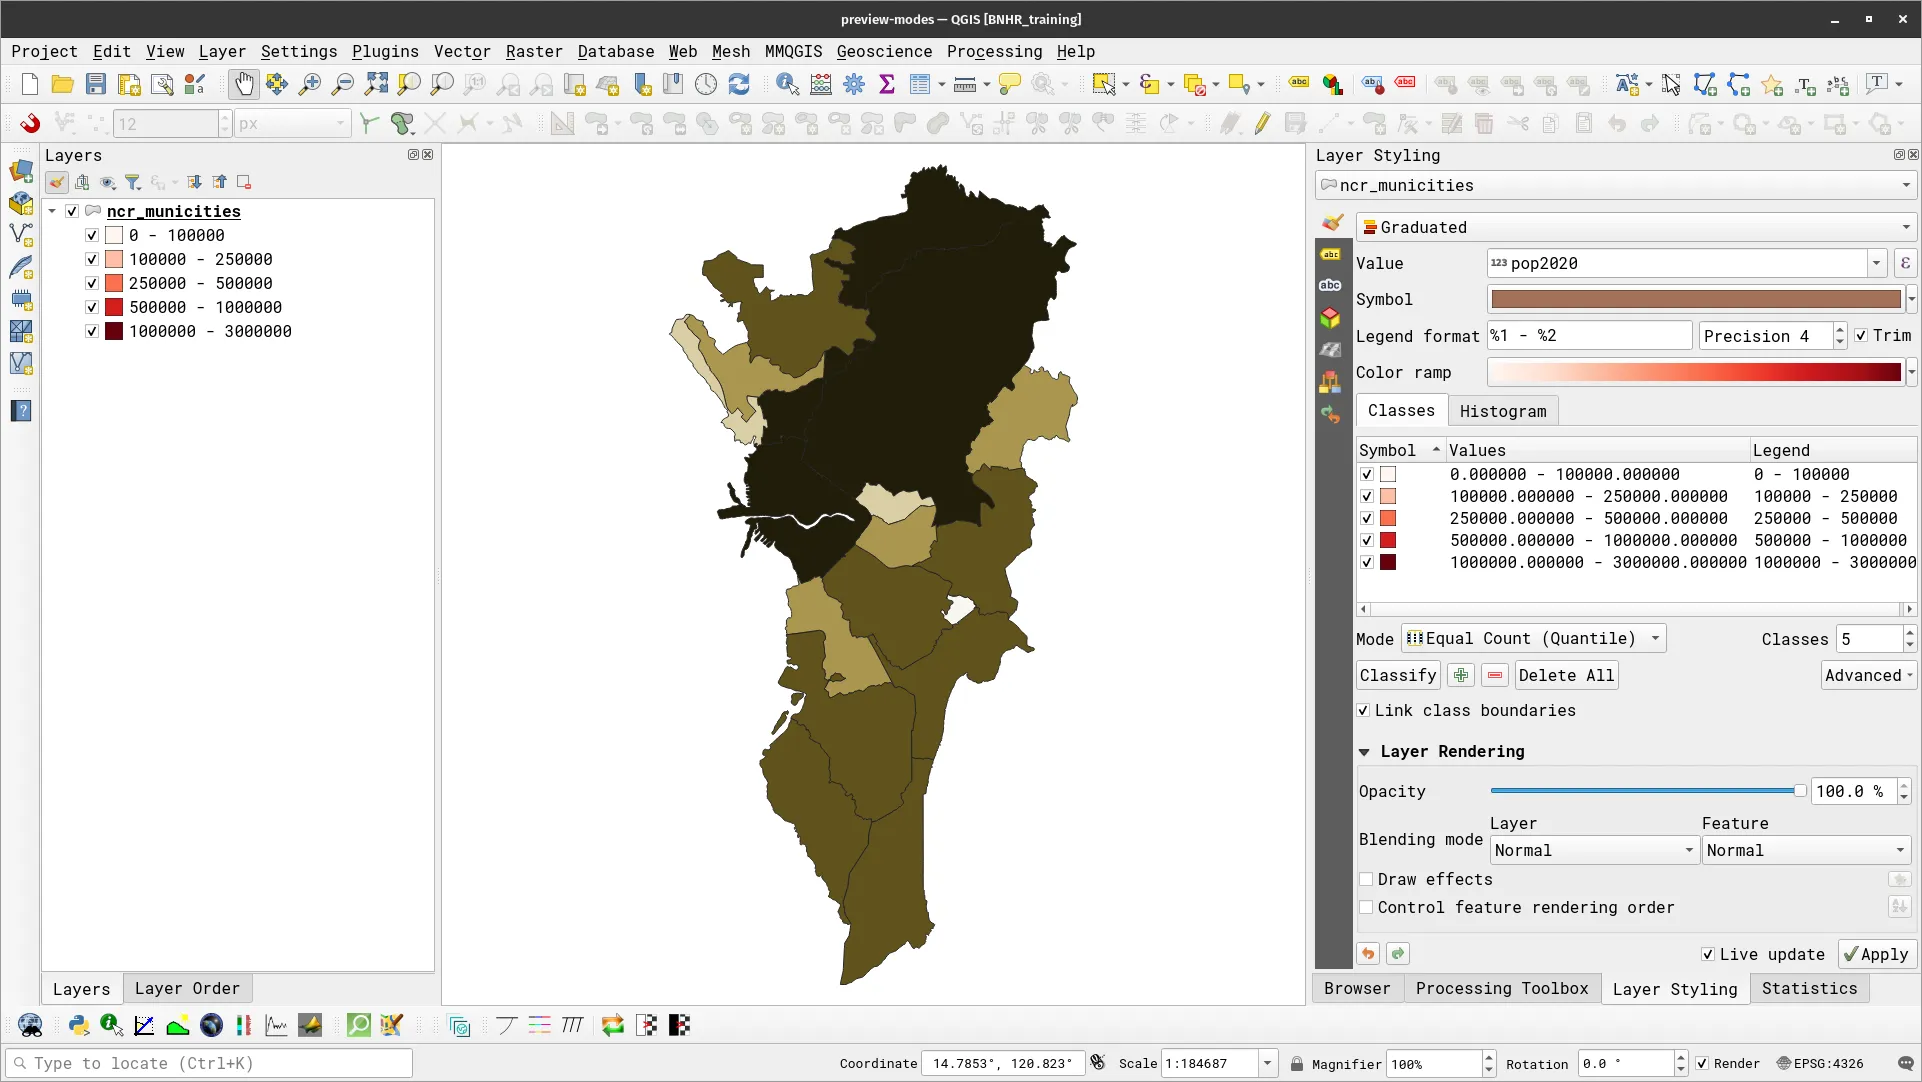
- Go to Views ▶ Preview Mode and select Simulate Deuteranopia Color Blindness.
- Your layer should appear like below.
- Try to use other preview modes with other color palettes.
Certification and support
Section titled “Certification and support”Contact us or sign-up to our courses if you are interested in having this as an instructor-led or self-paced course.